Getting a dieline right is the foundation of everything else in box production. If the dieline is off, nothing downstream fixes it. At Leader Printing, we've been working through dieline challenges with customers since 1976, and we've seen what goes wrong when this step gets rushed.
Understanding the Purpose of a Dieline
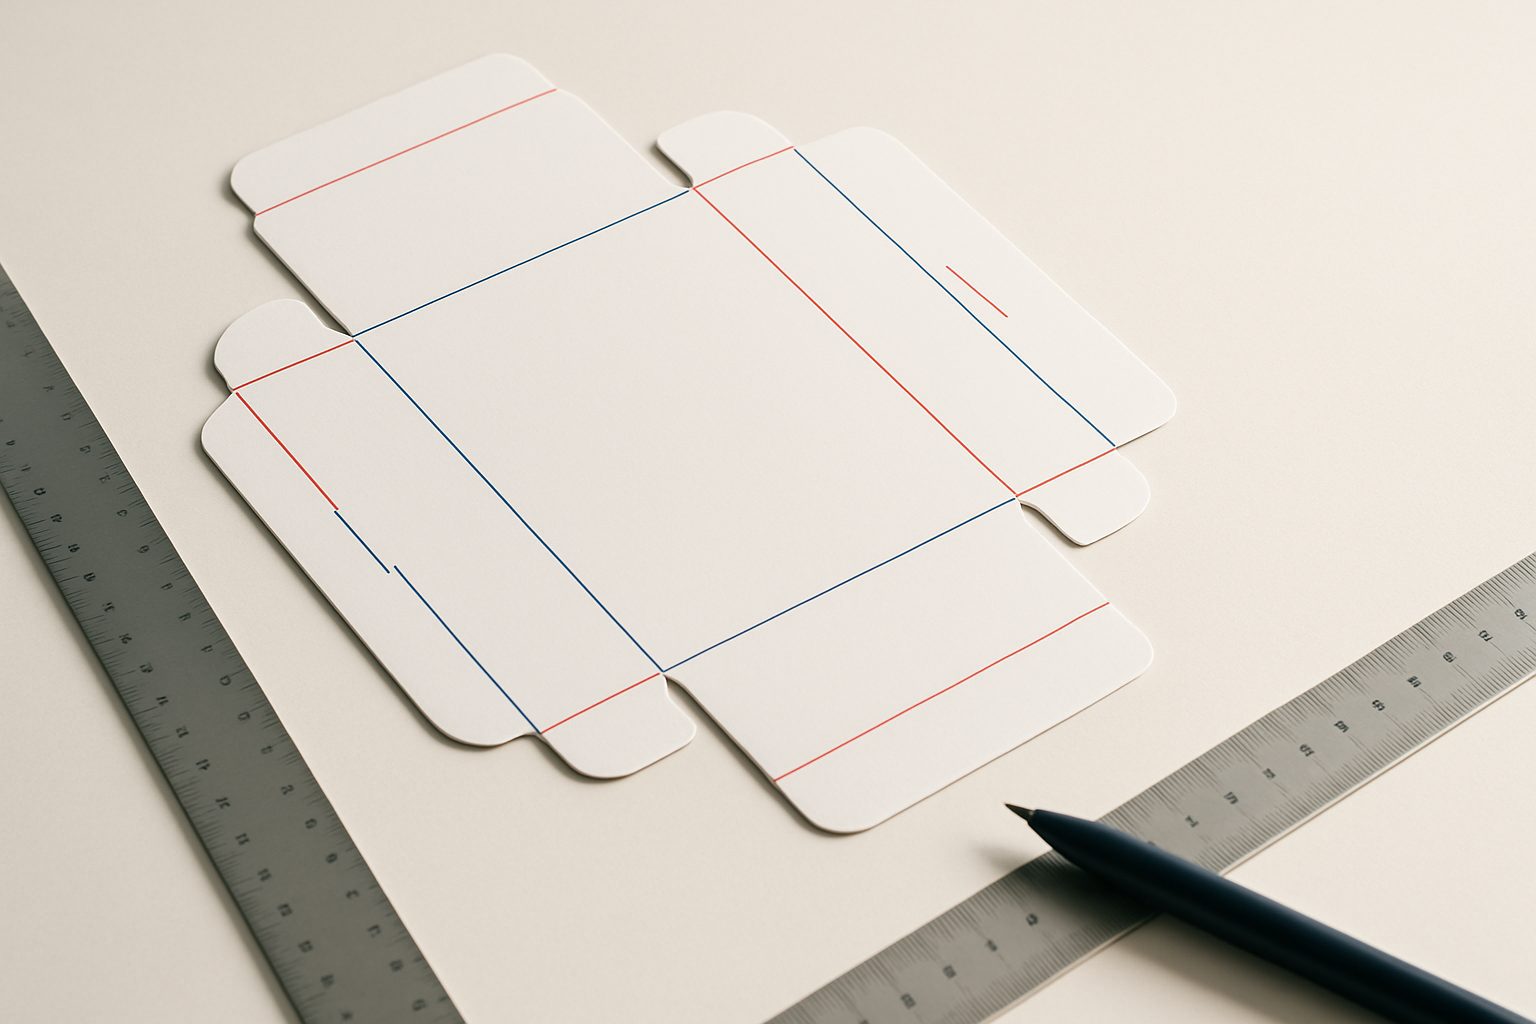
Think of a dieline as the flat blueprint your box gets die-cut from. It shows exactly where the material gets cut, where it gets creased, and how the whole thing folds into a finished package. Without an accurate dieline, you're guessing. Boxes won't close cleanly, graphics won't align, and you'll end up paying for reprints. Get it right once and production runs smoothly.
Components of a Dieline
A proper dieline includes several key elements:
Cut Lines
Cut lines mark exactly where the die will slice through the material. They're drawn as solid lines. Every edge of your finished box traces back to one of these.
Fold Lines
Shown as dashed lines, fold lines tell the machine where to score the board so it creases cleanly. Placement matters a lot here. Even a millimeter off can make a tuck tab refuse to seat properly.
Bleed Areas
Your artwork needs to extend past the cut line, typically 3mm, so you don't end up with a thin white border where the knife ran. Honestly, this is the mistake we see most often on first-time submissions.
Registration Marks
These sit outside the cut zone and let our press operators align each color plate precisely. They're what keeps your CMYK layers from shifting between passes.
How to Design a Dieline
Designing a dieline requires precision and attention to detail. Here's a step-by-step guide:
Step 1: Measure Your Product
Measure the actual product. Length, width, and height. Don't use the spec sheet from your product supplier unless you've verified it against the physical item. Discrepancies happen, and your box has to fit the real thing.
Step 2: Choose a Box Style
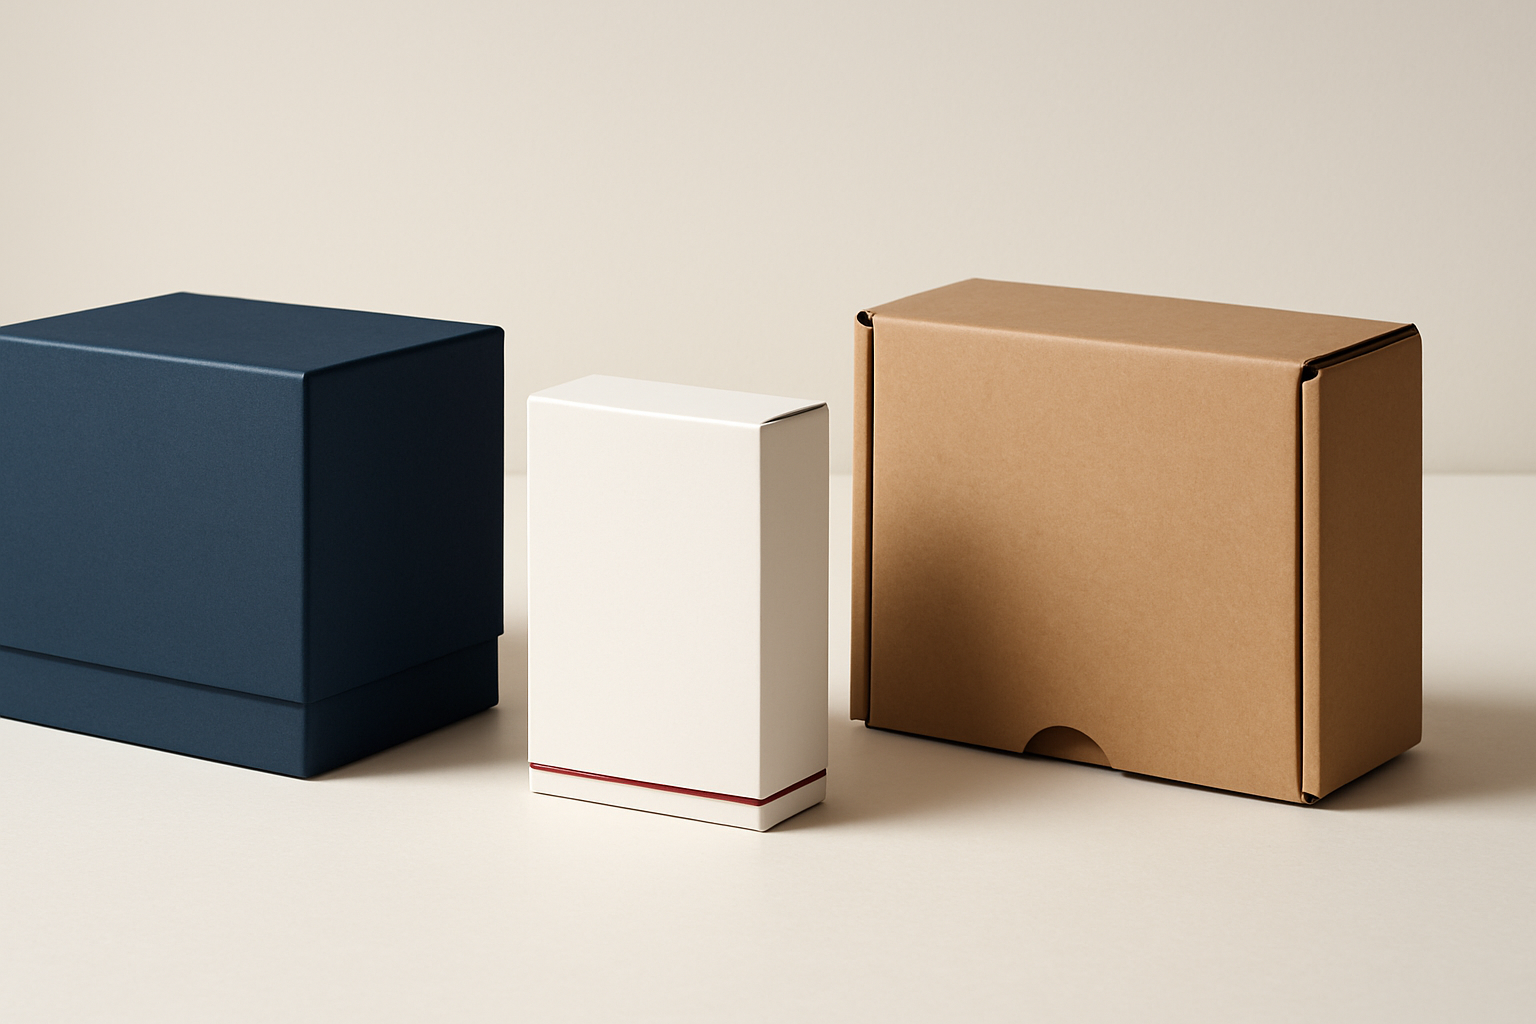
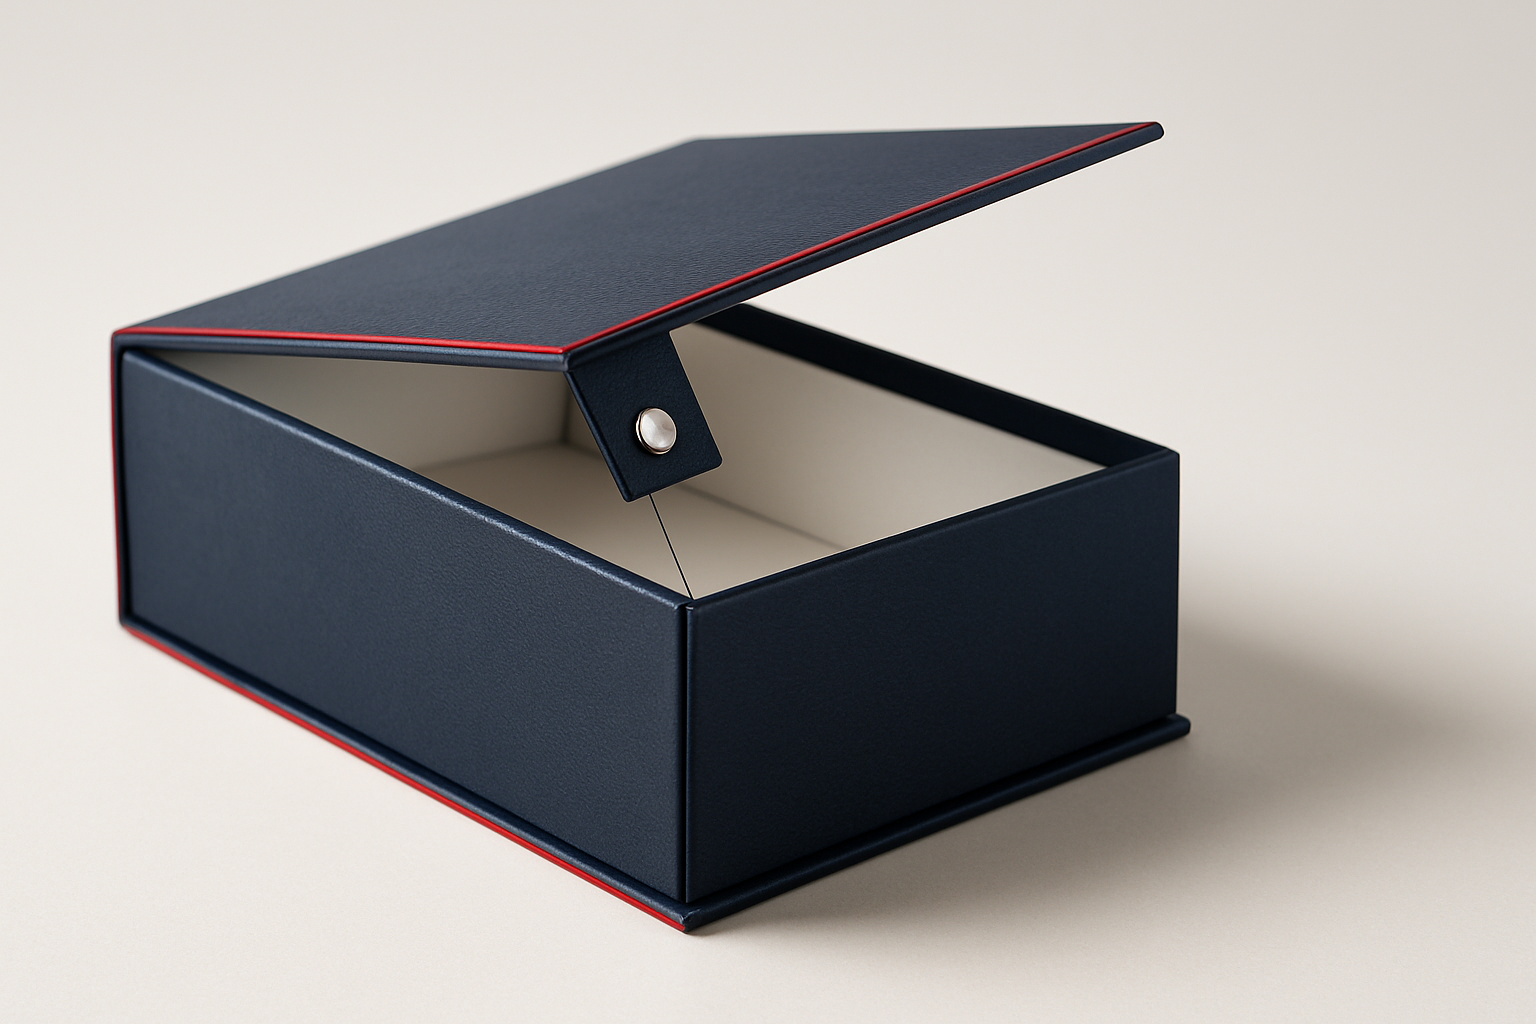
Pick a style that suits both the product and how it'll be used. Tuck-top boxes are cost-effective and fast to run. Auto-lock bottom boxes are better when you need a more secure base. Sleeve boxes work well when presentation is the priority. Each style has different dieline complexity and different tooling costs.
Step 3: Create the Dieline Template
Adobe Illustrator is the industry standard for this. Start from a verified template rather than drawing from scratch, then adjust to your exact dimensions. Keep cut lines on one layer, fold lines on another, and artwork on a third. That separation saves everyone time during prepress review.
Step 4: Add Design Elements
Place your logos, colors, and other brand elements inside the safe zone, well clear of the cut and bleed lines. Anything that drifts into the bleed area is at risk of being trimmed. Anything outside the safe zone might get scored over by a fold line.
Step 5: Review and Adjust
Print a mock-up on plain paper at 100% scale and fold it by hand before you send the file. It takes five minutes and it'll catch fold alignment problems that look fine on screen.
Using Packaging Dieline Templates
Templates are worth using. They're not a shortcut, they're just a sensible starting point that someone else has already verified for structural logic.
Benefits of Using Templates
A good template has the glue tabs sized correctly, the fold allowances built in, and the proportions right for the box style. You're not reinventing that geometry every time. For standard sizes and shapes, they're genuinely time-saving.
Customizing Templates
That said, a template is never a finished dieline. You'll need to resize it to your product, adjust tab depths if you're using thicker board, and make sure the bleed areas reflect your actual artwork requirements. Treat it as a starting point, not a finished file.
Common Mistakes in Dieline Design
Avoid these pitfalls to ensure a successful dieline:
Incorrect Measurements
Measure twice, cut once. If your product dimensions are wrong by even 2-3mm, the box either won't close or it'll be so loose the product rattles. Double-check against the physical item.
Ignoring Bleed and Safety Areas
Skipping bleed gets you white edges. Putting critical text or design elements too close to cut lines gets them trimmed off. We see both, regularly. Neither is fixable after the run.
Material Considerations for Box Dielines
Material choice directly affects how you draw the dieline. Thicker boards need wider score tolerances and larger glue tabs. Here are the materials we run most often:
| Material | Weight | Use Case |
|---|---|---|
| Greyboard | 800-1200gsm | Rigid boxes |
| Coated Art/SBS | 250-400gsm | Folding cartons |
| Kraft | 120-210gsm | Bags |
Printing and Finishing Options
Once the dieline is solid, finishing choices are where you can really differentiate the packaging.
Printing Techniques
We run offset printing as the default for folding cartons and rigid boxes. It delivers accurate color reproduction and handles fine detail well. Our factory carries ISO 9001 certification, which means our color consistency and quality controls are independently verified, not just claimed.
Finishing Options
In our experience, soft-touch lamination is the most popular upgrade for premium packaging right now. Matte and gloss lamination both have their place depending on the brand feel you're going for. Spot UV works well for pulling a logo or graphic element forward visually. Foil stamping adds a tactile premium quality that photographs well and holds up in retail. All of these get specified in the dieline file so our prepress team knows exactly where each finish applies.
Key takeaways
- Designing a dieline is crucial for precise and effective packaging.
- Utilize dieline templates for efficiency, but customize them to fit your product.
- Pay attention to material choices, as they affect the dieline and final product.
- Incorporate printing and finishing options to enhance your packaging.
Frequently asked questions
What is a dieline in packaging?
A dieline is a flat template that shows exactly where a printed sheet will be cut and folded to form a box or other packaging shape. It's the file your manufacturer uses to build the physical die tool.
How do I create a dieline?
Measure your product, choose a box style, build or adapt a template in Adobe Illustrator, add your artwork within the safe zone, and fold-test a paper printout before submitting. That order matters.
Why are bleed and safety areas important?
Bleed, typically 3mm past the cut line, prevents white edges from showing on the finished box. Safety areas keep important text and graphics far enough from the cut that trimming variation doesn't clip them.
Can I use a standard dieline template?
Yes, and we'd recommend it as a starting point. You'll still need to resize it to your product's actual dimensions and adjust for your chosen board thickness, but starting from a proven template is faster and less error-prone than building from scratch.